
replicationEZ: Open a selection of servers and databases
In this short tutorial, you'll see how to get started in replicationEZ by loading a selection of servers and databases.
Instructions
Opening a selection of servers and databases in replicationEZ
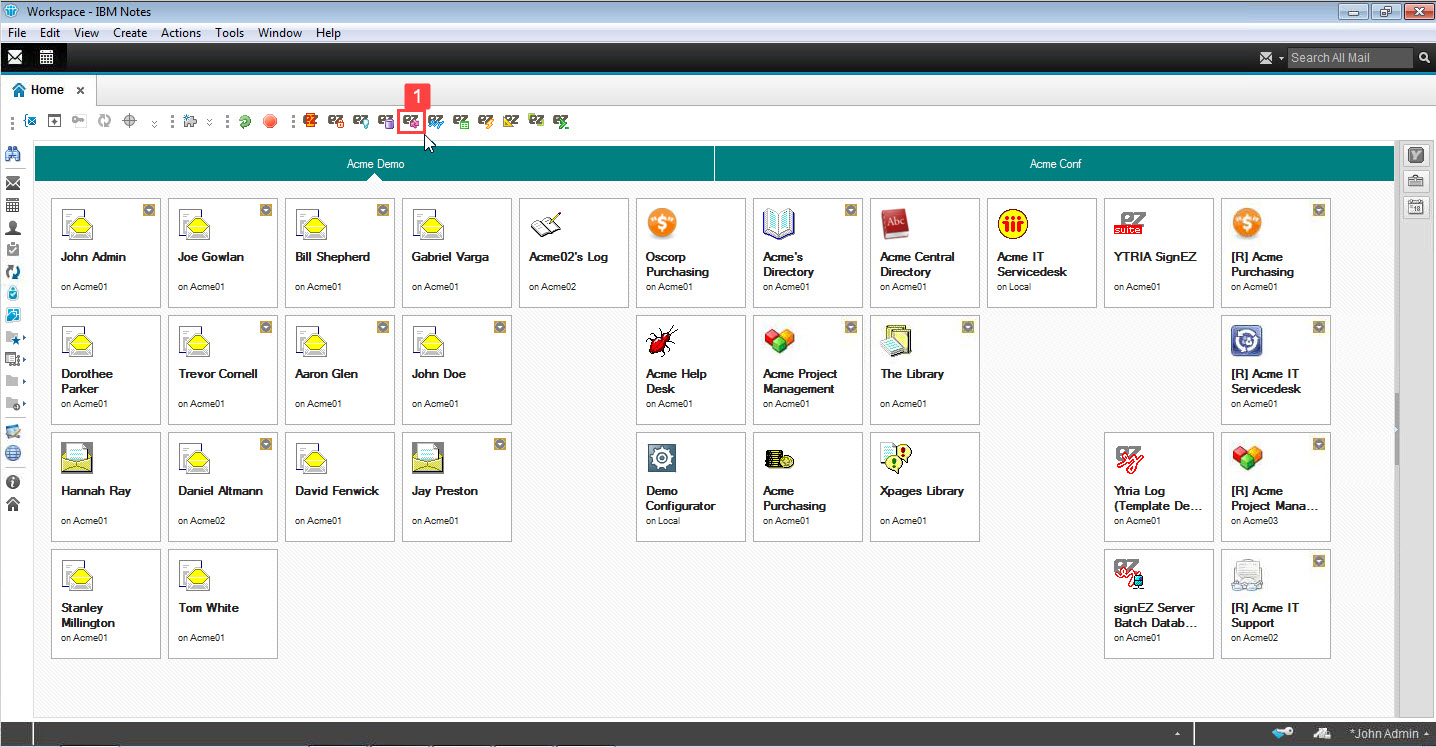
Step 1 Click the signEZ icon in the Ytria toolbar.
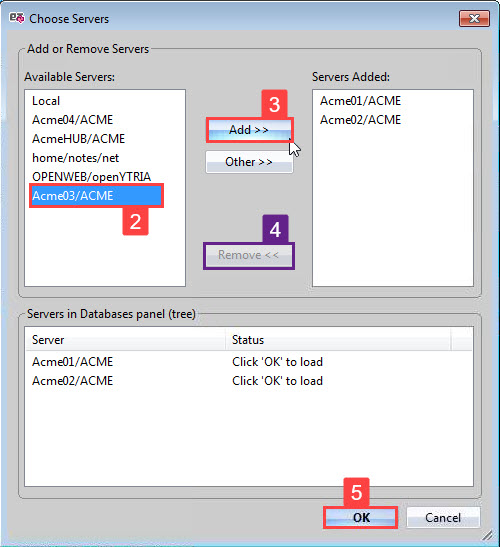
Step 2 Select your server from the list.
A variety of filters are available for you to specify folder types, save preferred searches, and more. For the sake of brevity, these have been disregarded.
Step 3 Click 'Add>>' to place your selected server in the 'Servers Added' list.
Step 4 To remove a server from the 'Servers Added' list, select the server in the list and click 'Remove<<'.
Step 5 Click 'OK'.
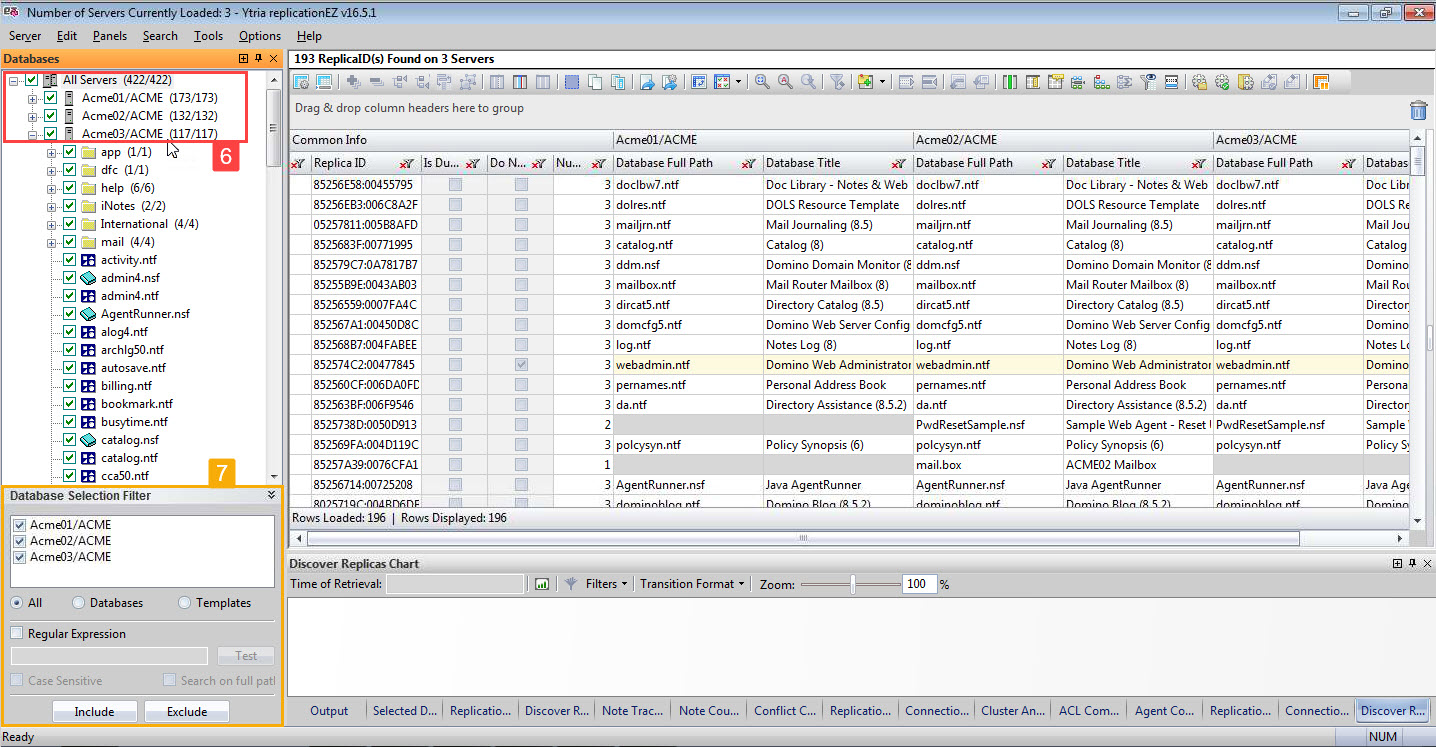
Step 6 Check the boxes that correspond to the servers, databases and/or templates whose information you want to load into the main grid.
Step 7 Optional: Enact filters on your selection using the 'Database Selection Filter'.
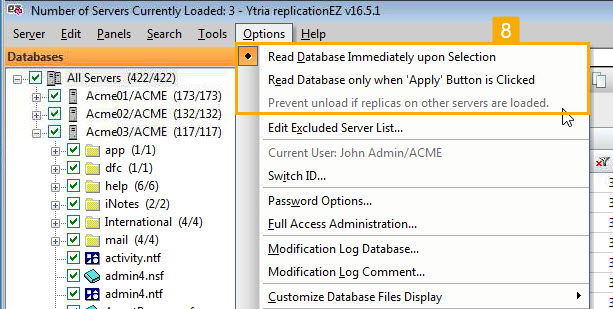
Step 8 Depending on how you have the database read options set, your selection will either be immediately loaded into the main grid, or require that you click 'Apply' in the Databases panel. An option to keep all replicas across loaded servers is also available.